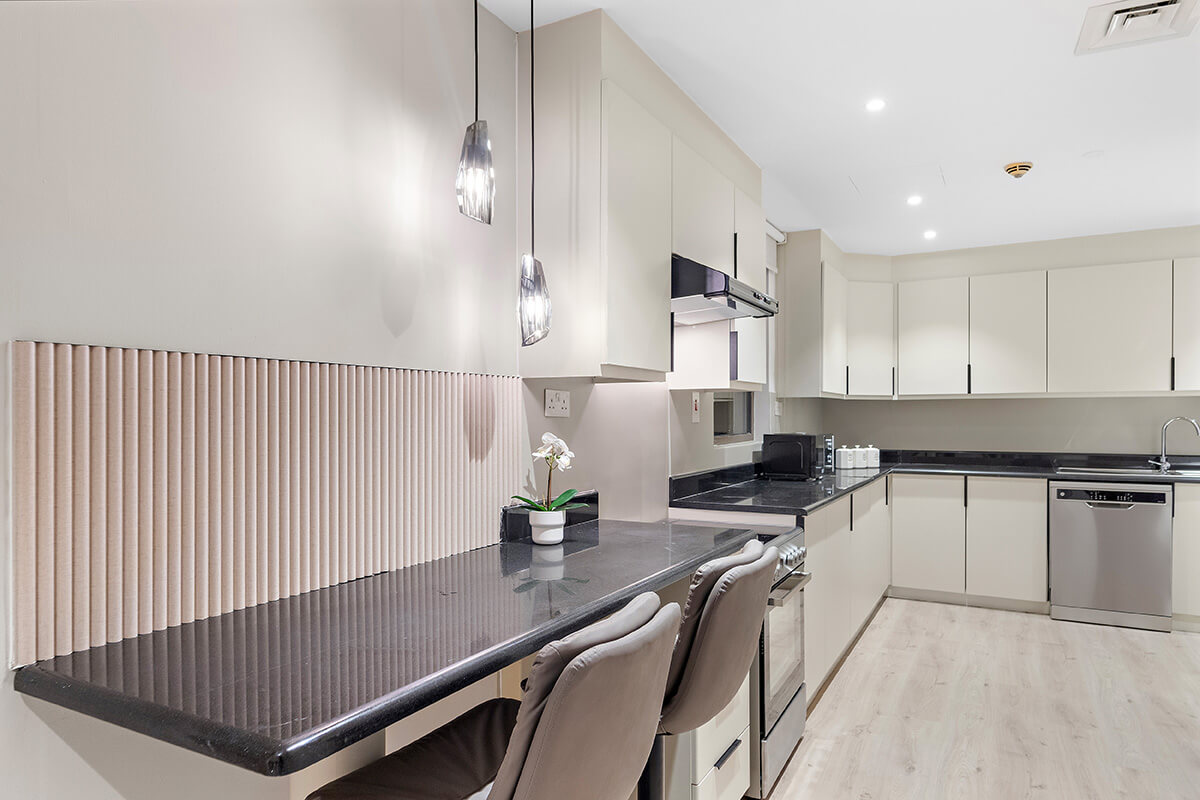
After a long wait, it is natural to approach handover with a furnishing plan and a target date for the first tenant or guest. A structured inspection creates an opportunity to slow down and document the property carefully. An hour spent checking the unit at handover may prevent several maintenance visits after it becomes occupied.
What Is a Handover Inspection For?
The inspection produces two records: an account of the property's condition on the day and a list of defects or unfinished work to be addressed through the developer's handover process. Where the handover terms allow it, the snag list can be attached to the acceptance record so the owner can take possession while the documented corrections are scheduled.
A formal snagging inspection may take place before handover, on the day, or as a follow-up, and this checklist is the handover-day version of that discipline. The sale and purchase agreement and the developer's handover pack set out how defects are reported and the period in which the developer is responsible for correcting them, so both documents are worth reading before the appointment.
Before the Appointment: Documents and Tools
A handover goes more smoothly when the paperwork and the testing kit are ready in advance. The documents usually requested are:
- The sale and purchase agreement and any handover notice or letter the developer has issued
- Identification for the owner or the appointed representative
- Written authority where someone attends on the owner's behalf
- The developer's handover pack or defect-reporting instructions, where these are issued in advance
The tools are simpler than they sound: a torch for cupboards and service areas, a phone charger or small appliance for testing sockets, a tape measure, a notepad or checklist app, and a camera or phone for photographs. A companion who can hold a door, run a tap, or read a meter while you record the findings may be more useful than any single tool.
Inspecting the Property System by System
The checks below move through the property by system rather than by room, because a fault in one system tends to appear in several rooms at once. Each group can be checked systematically in an apartment. A villa will generally require more time, so the appointment should be planned accordingly.
Walls, Ceilings, Floors, and Finishes
- Paintwork for cracks, patches, drips, and uneven colour, checked in daylight
- Ceilings for stains or discolouration that may indicate a past leak
- Floor tiles and skirting for chips, lipping between tiles, and hollow sounds when tapped
- Grout and sealant lines for gaps, particularly in wet areas
Doors, Windows, and Joinery
- Every door closes, latches, and locks without lifting or forcing
- Windows and balcony doors open, close, and seal, with handles and locks working
- Wardrobe doors, drawers, and runners move freely and align
- Kitchen units are level, fixed, and free of chipped edges
Water Supply, Drainage, and Water Heating
- Every tap runs hot and cold, and the water heater delivers hot water within a reasonable time
- Basins, baths, and showers drain away without pooling
- Under-sink connections and the water-heater cupboard are dry
- Toilets flush and refill, and there is no continuous running sound afterwards
Electrical
- Every socket powers a charger or appliance
- Every light switch operates the fitting it is meant to
- The consumer unit is labelled and the safety devices trip when their test button is pressed
- Intercom, doorbell, and any fitted smart devices respond
Cooling and Ventilation
- Cooling runs in every room and airflow can be felt at each grille
- The thermostat responds and the set temperature is reached
- Condensate drains are clear, with no dripping from units or grilles
- Extractor fans in bathrooms and the kitchen draw air
Kitchen and Fitted Appliances
- Appliances match the specification in the sale and purchase agreement
- The hob ignites or heats, the oven reaches temperature, and the cooker hood extracts air effectively
- Fitted appliances switch on and complete a short cycle where practical
Balcony, External Areas, and Access
- Balcony finishes, drainage points, and railings are complete and secure
- External-facing sealant and any areas within the owner's maintenance responsibility are sound
- Keys, access cards, parking access, and building entry arrangements are handed over and counted
How Should You Grade and Record What You Find?
A snag list is most useful when every entry follows the same structure: the location, a concise description, and a photograph reference. Classifying each item as it is recorded helps the developer prioritise the work and allows the owner to identify what must be corrected before furnishing begins.
Three categories cover most findings. The first covers anything affecting safety, function, or the accuracy of a future listing, such as a cooling fault, leak, or window that does not lock. The second covers cosmetic defects where the property remains functional but the finish falls short. The third records questions for the developer, such as whether responsibility for an item rests with the unit or the building.
Photographs with timestamps and the acknowledged list are best kept together in one file, since they are the evidence for any later conversation about a defect.
What the Acceptance Record Should Contain
Before signing, it helps to confirm that the record covers the practical items an owner will need in the first weeks:
- The number of keys, access cards, and parking passes received
- Meter readings for electricity and water, and for cooling where it is metered separately
- The snag list, attached and acknowledged
- The route and contact for reporting defects after handover
- Appliance manuals, warranties, and any commissioning certificates provided by the developer
The sale and purchase agreement and the handover pack govern how defects are reported and for how long the developer remains responsible for correcting them, so the record is best read alongside those terms rather than in isolation.
What a Guest-Ready Standard Adds to the Inspection
An owner preparing a holiday home should also consider how the property will perform under guest use. Cooling should operate effectively in every room, and hot water should remain available when two outlets are used simultaneously. The owner should also listen for noise from corridors and plant rooms with the doors closed. Storage, lighting, and the location of the internet connection will influence the furnishing plan, while durable finishes become particularly important where turnovers are frequent.
Owners buying an off-plan property for Airbnb use the handover record as the starting point for furnishing, utilities, and the permit application. Once guests begin arriving, the inspection checklist applies a shorter version of these checks after each departure.
After the Keys: The Next Steps
The steps that follow after property handover include updating ownership records, activating utility accounts, and completing building registration. The inspection record supports several of these activities. Owners starting a short-term rental business can also incorporate its findings into the furnishing brief and operating plan, reducing the risk that a guest discovers an unresolved defect.
How First Class Property Management Uses the Handover Record
First Class Property Management begins onboarding by assessing the property's readiness. A detailed handover record can make that assessment more efficient because the systems tested and outstanding defects are already documented. Onboarding can typically be completed in around two weeks when the required documents are available and the property needs no substantial work. The snag list helps the team determine whether that timeline is realistic.
FAQ
Should an owner accept the keys if the inspection finds defects?
The answer depends on the handover terms and the nature of the defects. Cosmetic items are normally accepted with the list attached and acknowledged, since the developer corrects them after possession, while anything affecting safety or function is worth discussing before signing. The sale and purchase agreement sets out how defects are handled, and it is the document to read first.
Can someone attend the handover on the owner's behalf?
An appointed representative can attend where the developer accepts written authority, which is common for owners living abroad. The representative should carry identification and the authority, follow the same checklist, and send the photographs and the acknowledged list to the owner the same day so that nothing is lost between the inspection and the follow-up.
What happens if a defect appears after handover?
Defects discovered later should be reported through the channel specified in the handover pack, supported by photographs and the date on which they were noticed. The sale and purchase agreement and the handover pack set out the period in which the developer is responsible for correcting them, so the record from handover day is the reference point for any later request.
Is the handover inspection the same as snagging?
Snagging is the broader process of identifying and correcting defects. It may begin before handover and continue afterwards. The handover inspection is the assessment conducted when the keys are accepted, producing the condition record and defect list referenced in the acceptance documents.
If the property is intended for guests, a rental estimate from First Class Property Management turns the inspection record into a realistic starting point for furnishing and pricing.