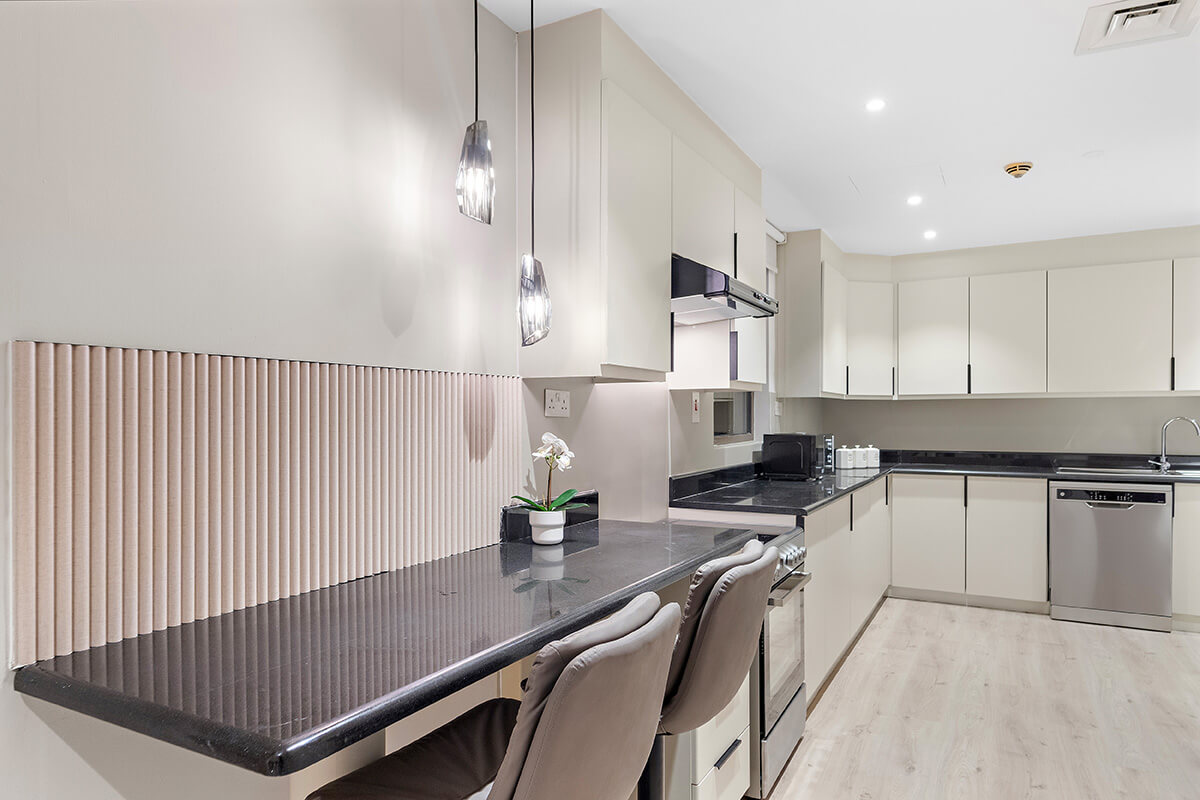
After months or years of waiting for completion, it can be tempting to move directly into furnishing. A methodical inspection creates time to identify defects while the property remains empty, when access is easier and corrective work is less likely to disrupt an occupant or guest.
What Snagging Means and When It Takes Place
A snag is an individual defect or item that falls short of the agreed specification or an acceptable finish.
Snagging can take place at three stages. Some developers offer a pre-handover visit, which allows the list to be prepared before possession. The handover appointment itself is the second point, and the handover checklist covers what that day involves. The third stage is a follow-up inspection after possession, once the property's systems have been used under normal conditions. This may reveal faults that were not apparent during the initial inspection, such as slow drainage or an unreliable socket. The sale and purchase agreement and the handover pack set out how defects are reported and the period in which the developer is responsible for correcting them.
Who Carries Out the Inspection?
An owner can inspect the property personally, appoint a representative with written authority, or engage an independent professional inspector, and the right choice depends on the owner's location, available time, and confidence with building systems.
A professional inspection normally produces a written report with photographs, tests systems with instruments rather than by eye, and covers items an owner may not think to check, such as the fall on a balcony floor or the operation of safety devices in the consumer unit. Owners inspecting for themselves can still cover most of the list below with patience and a torch, and the two approaches are often combined, with the owner walking the property first and an inspector confirming the technical items.
The Checks, System by System
The table sets out the checks by system, since a fault in one system usually appears in more than one room. Each row names the item and the test that shows whether it passes.
- Walls, ceilings, and paintwork: What to Check: Cracks, patches, drips, staining; How to Test: Inspect in daylight and with a torch held at an angle
- Floors and tiling: What to Check: Chips, lipping, hollow tiles, grout gaps; How to Test: Walk every room and tap tiles in wet areas
- Doors, windows, and balcony doors: What to Check: Closing, latching, locking, sealing; How to Test: Operate every door and window twice, then check the seal
- Joinery and wardrobes: What to Check: Alignment, runners, chipped edges; How to Test: Open and close every door and drawer
- Water supply and drainage: What to Check: Flow, hot water, leaks, drainage speed; How to Test: Run every tap, fill and drain every basin and bath
- Water heating: What to Check: Time to hot water, capacity; How to Test: Run two hot outlets at once
- Electrical: What to Check: Sockets, switches, labelling, safety devices; How to Test: Test every socket with a charger; press each applicable test button
- Air conditioning and ventilation: What to Check: Cooling in every room, thermostat, condensate drainage, extractors; How to Test: Run cooling for a sustained period and check every grille and drain point
- Kitchen appliances: What to Check: Presence per specification, ignition, heating, extraction; How to Test: Switch on each appliance and run a short cycle
- Bathrooms: What to Check: Sealant, tiling, drainage, extraction, fittings; How to Test: Run the shower, check the floor drains, and inspect every sealant line
- Balcony and external areas: What to Check: Finishes, drainage points, railings, sealant; How to Test: Check for ponding and, where permitted, test drainage using a controlled amount of water
- Access and safety items: What to Check: Keys, access cards, intercom, smoke detection; How to Test: Count, test, and record
These checks provide an inspection baseline rather than a universal technical standard. Where a manufacturer's commissioning procedure applies, that procedure takes precedence.
Dubai's Climate Changes What Matters
Heat and humidity shape the snag list in ways an owner arriving from a cooler market may not expect. High humidity can contribute to condensation, mould, and deterioration in paintwork, grout, and sealant, particularly where ventilation is limited, so sealant lines, extractor fans, and the drainage of air-conditioning condensate deserve more attention than they might elsewhere. Window and balcony-door seals matter for the same reason, since warm air entering a cooled room condenses on the nearest cold surface.
The summer also tests balcony finishes and external-facing sealant, and some maintenance issues associated with Dubai's climate may develop from minor defects that were not corrected during the initial inspection.
Reporting, Rectification, and the Re-Inspection
The snag list should be submitted through the reporting channel specified in the developer's handover pack. Each entry should identify the location, provide a concise description, and include a photograph reference. Grouping related items by system can also make the record easier to review. The acknowledged list and supporting photographs should then be retained together.
Rectification follows, but the subsequent re-inspection can easily be overlooked. Each corrected item should be tested again in the same way it was tested originally. The surrounding finishes should also be checked for damage caused during the repair, as replacing a tile or resealing a shower may leave paintwork or grout requiring further attention. Items still outstanding return to the list with the date of the re-inspection.
Where an item is disputed, the sale and purchase agreement and handover pack provide the primary references, while photographs from the original inspection provide supporting evidence. A clear record may help resolve the matter, although professional advice may be appropriate for a significant dispute.
How Snagging Supports Holiday-Home Preparation
For a future holiday home, the snag report should distinguish between defects that must be corrected before furnishing, those that could affect listing accuracy or guest comfort, and minor items that can be scheduled later. The completed record can then inform the furnishing brief and identify work that must remain accessible before wardrobes, sofas, or other large items are installed.
Once the property begins operating, relevant findings can be carried into the maintenance checklist, particularly where a system required correction or repeated testing during handover.
How First Class Property Management Approaches a New Property
First Class Property Management begins onboarding by assessing the property's readiness. This assessment can build on the owner's snag record rather than repeating completed work. It identifies what must be corrected before furnishing, what can be scheduled alongside it, and which systems should be monitored once guests begin arriving.
Onboarding can typically be completed in around two weeks when the required documents are available and the property needs no substantial work.
FAQ
Is snagging required before an owner takes possession?
Snagging is generally an owner-led quality-control process rather than a regulatory approval. A property may be handed over without an independent snagging inspection, but proceeding without one may leave the owner without a detailed record of its condition at acceptance.
How long does a snagging inspection take?
The time depends on the size of the property and the depth of the checks, with an apartment normally inspected in a single unhurried visit and a villa taking longer. Running systems for a sustained period, particularly cooling and hot water, adds time but finds the faults that a quick walk-through does not.
What can an owner do if the developer disagrees with an item?
The sale and purchase agreement and the handover pack set out how defects are defined and reported, and they are the first reference for any disagreement. Photographs from the original inspection are the evidence, and a written record of each exchange keeps the position clear. Where an item is significant, professional advice may be worth seeking.
Should furnishing wait until snagging is complete?
Major items are best corrected before furniture arrives, since access to walls, floors, and services becomes harder once the property is furnished. Cosmetic items can often be scheduled around furnishing, provided they are recorded and the re-inspection still takes place once they are done.
If the property is being prepared for guests, First Class Property Management's property management service can carry the snag record into the readiness assessment, furnishing plan, and ongoing operating programme.